Wiki › Dark Ages II › Quests › Trocken Dungeon
Trocken Dungeon
Main story quest
Go after the crystal in the Trocken Dungeon, the old proving ground of the Trocken monks, while Daisalan's followers take the Sky Mountain Temple.
Choose the Dungeon
At the Resistance Hideout, tell Daisalan you will take the Trocken Dungeon. Her followers set off for the Sky Mountain Temple instead.
The Entrance
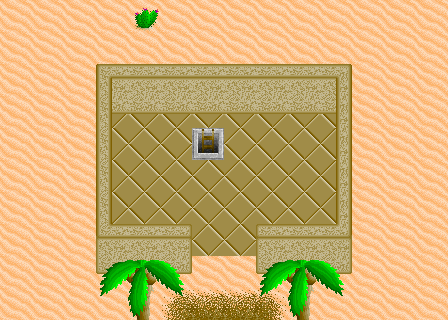
The dungeon’s entrance is in the desert south of Nanten. The party only goes down once you have chosen the dungeon.
The First Level
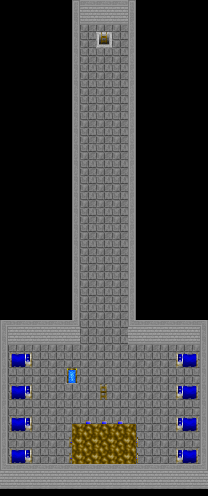
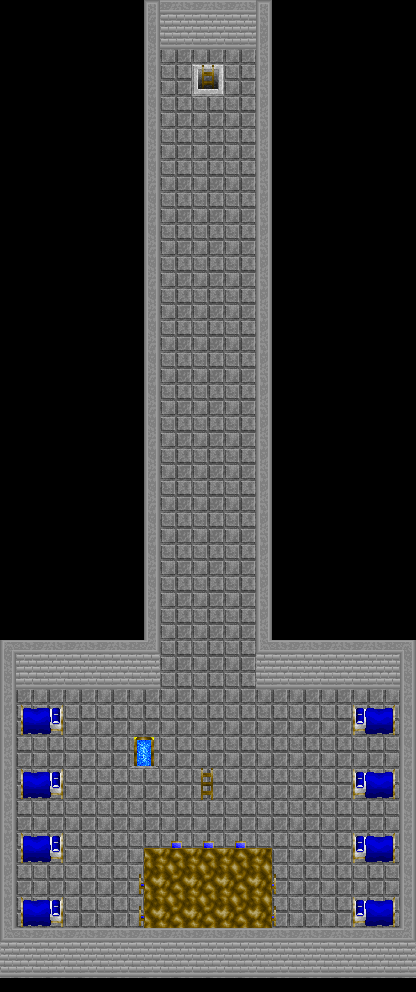
The ladder comes down in the south. The hole down to the next level is a short walk north. The portal beside the ladder only works from the dungeon’s far end.
 ↑
↓
↓
 ↑
↓
↓
↑ To Trocken Dungeon Entrance↓ To Trocken Dungeon (Second Level)↓ Way in
The Second Level
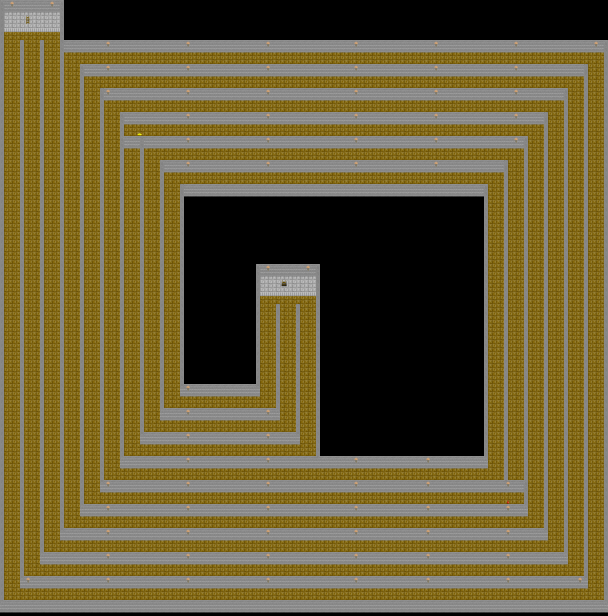
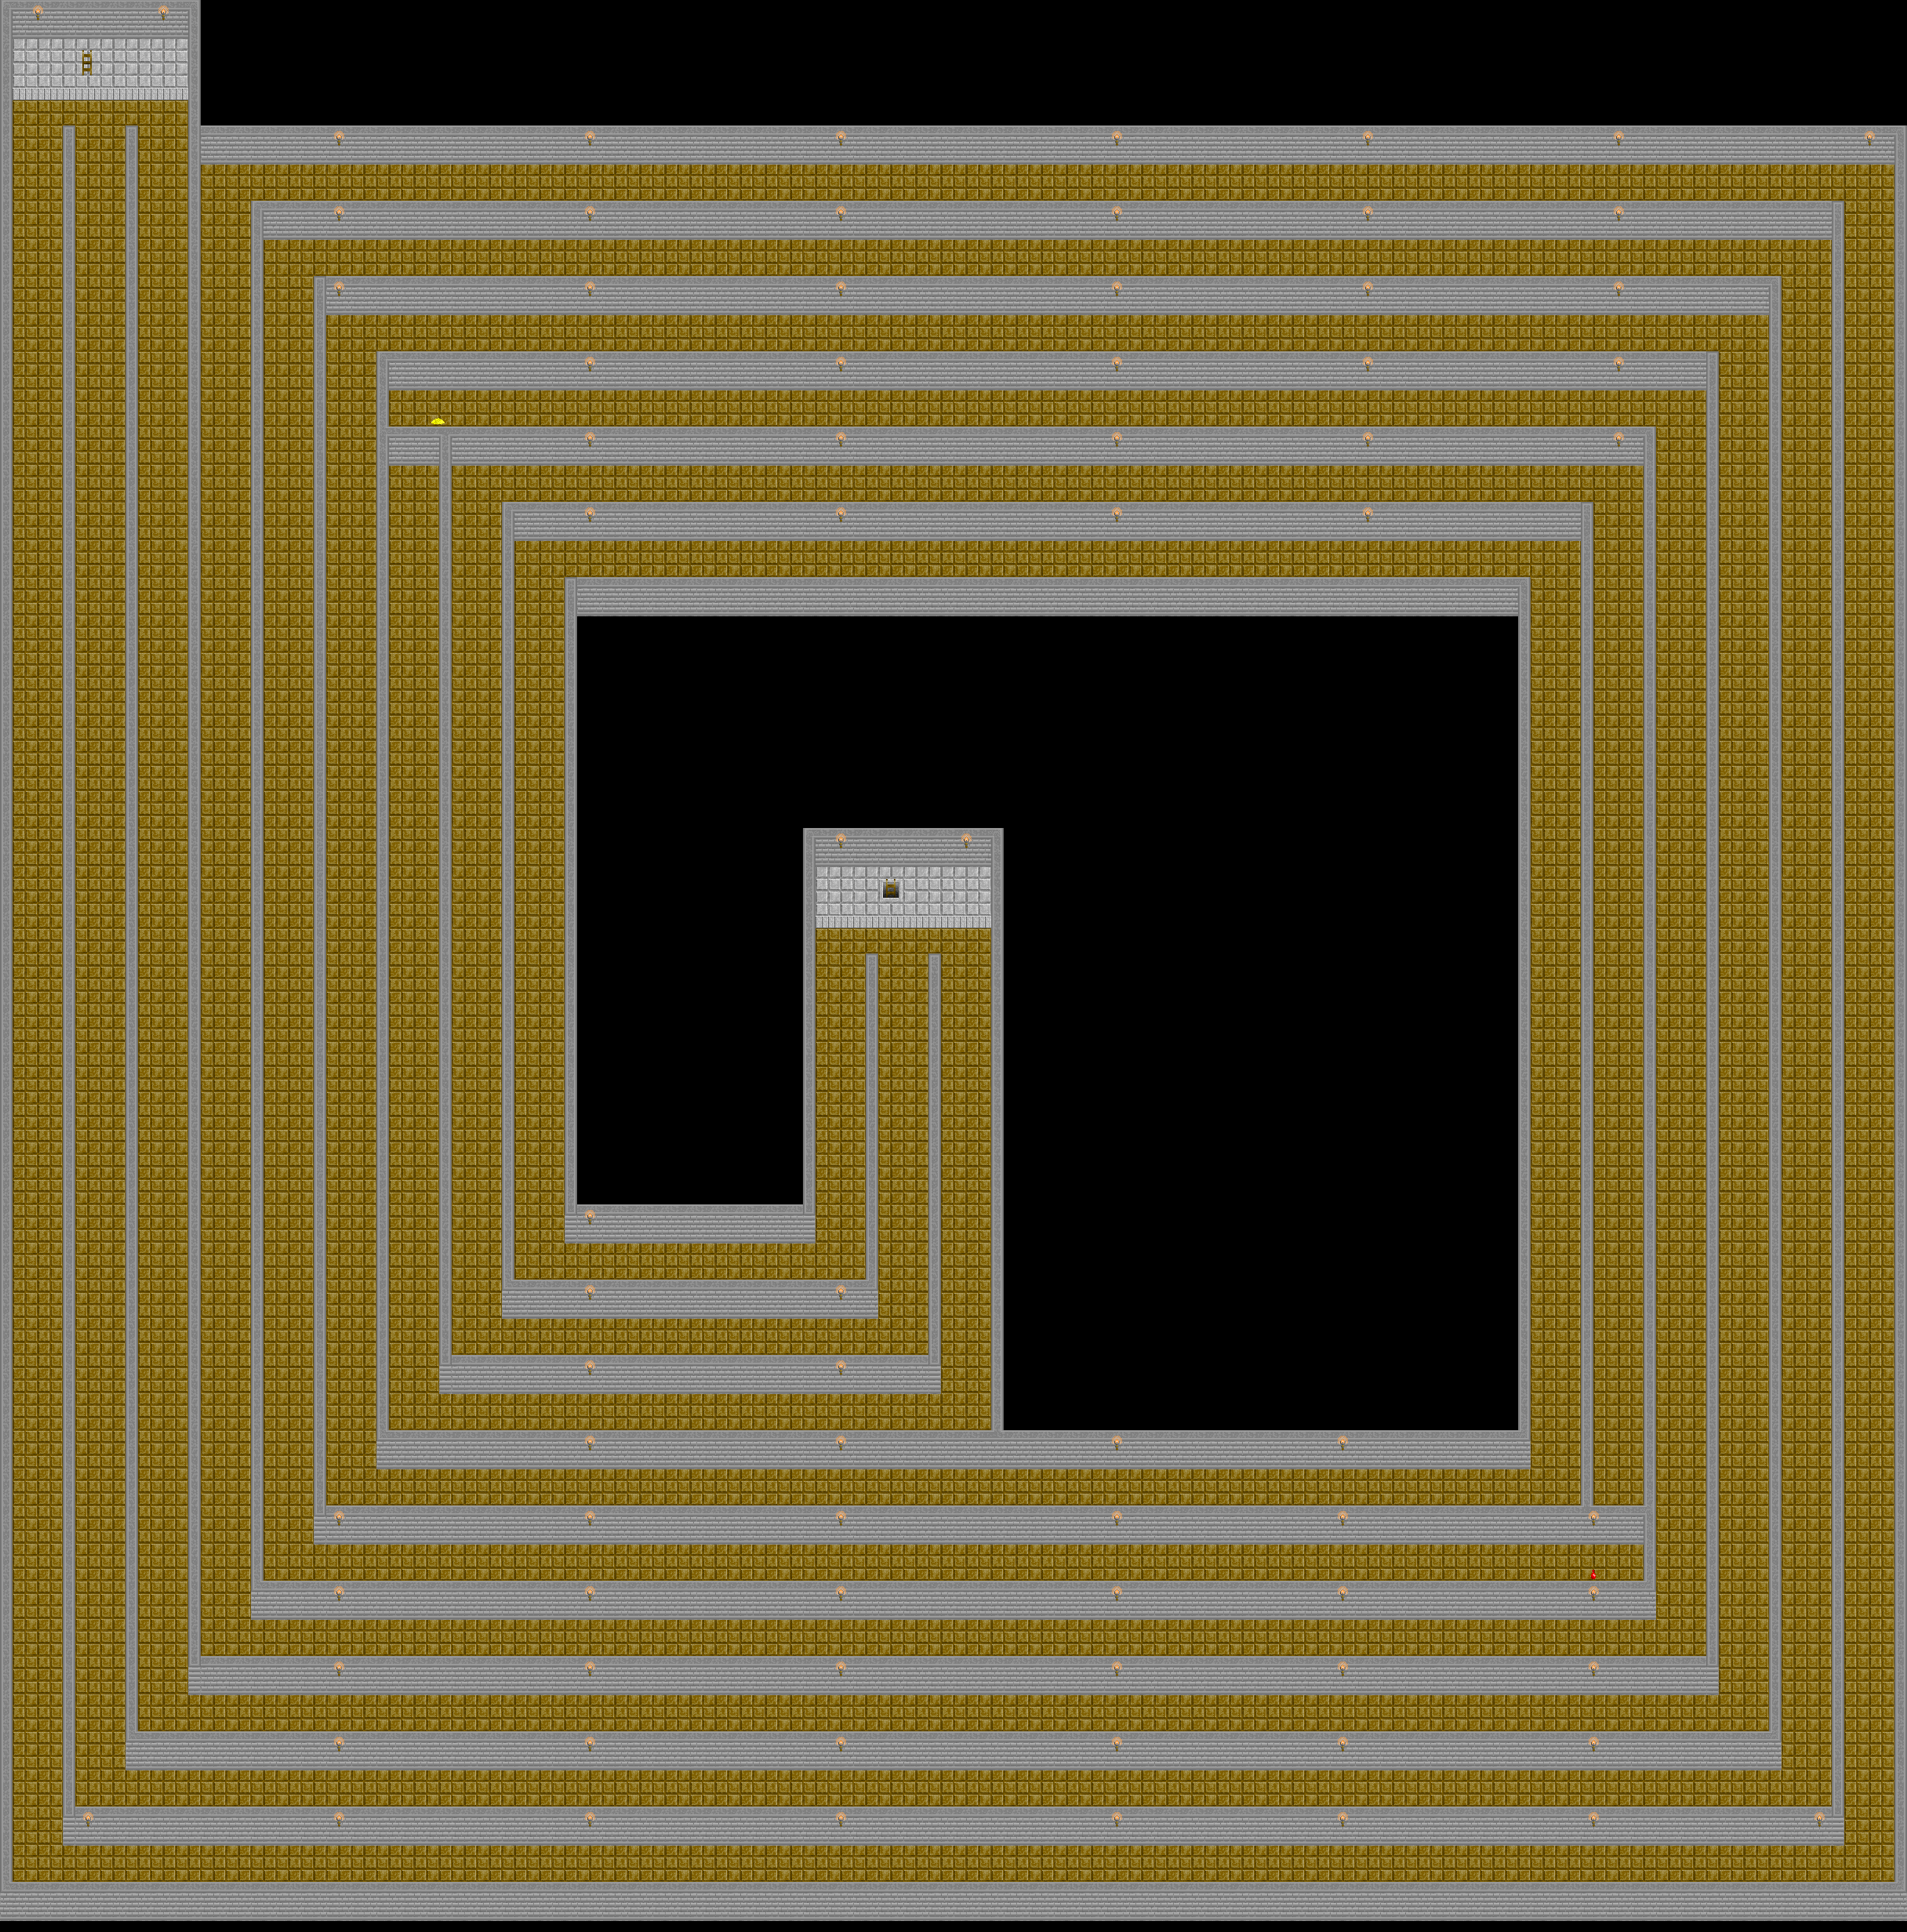
You come down in the north-west. The hole to the third level is in the middle. 800 gold (1) and a Health Elixir (2) lie off the path.
 ↓
↑
1
2
 ↓
↑
1
2
↓ To Trocken Dungeon (Third Level)↑ To Trocken Dungeon# Treasure
The Door Puzzle
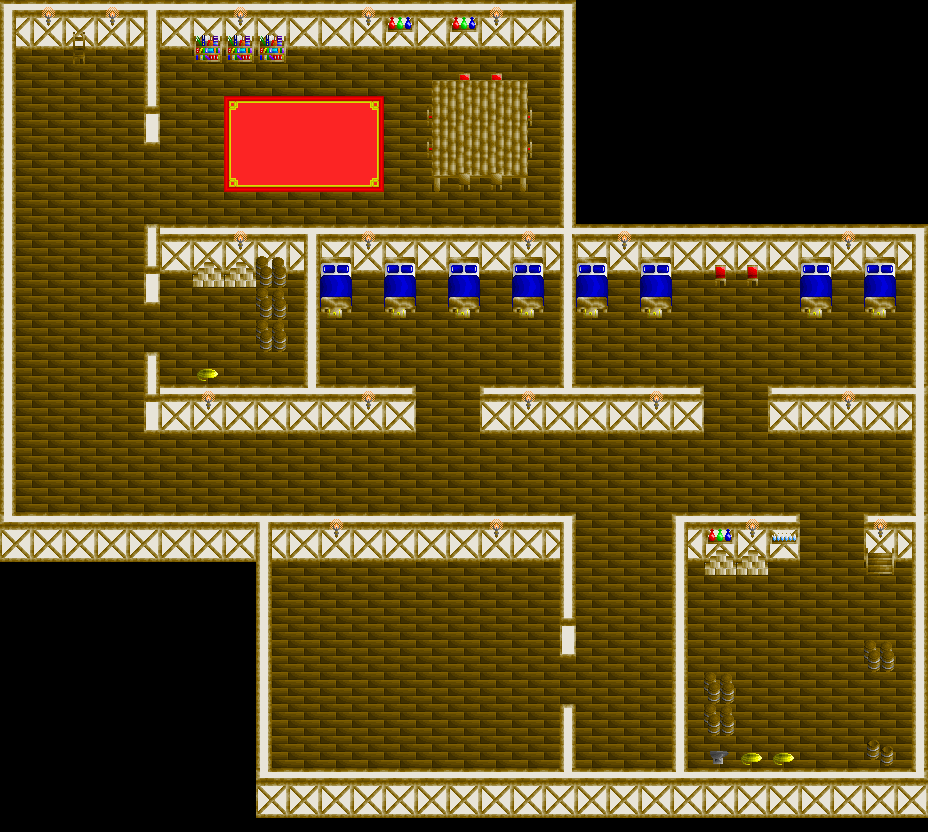
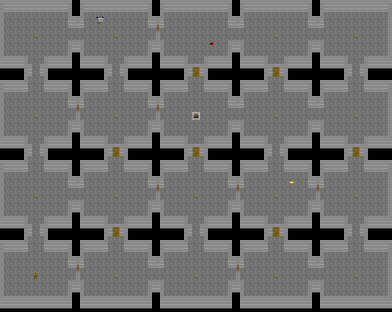
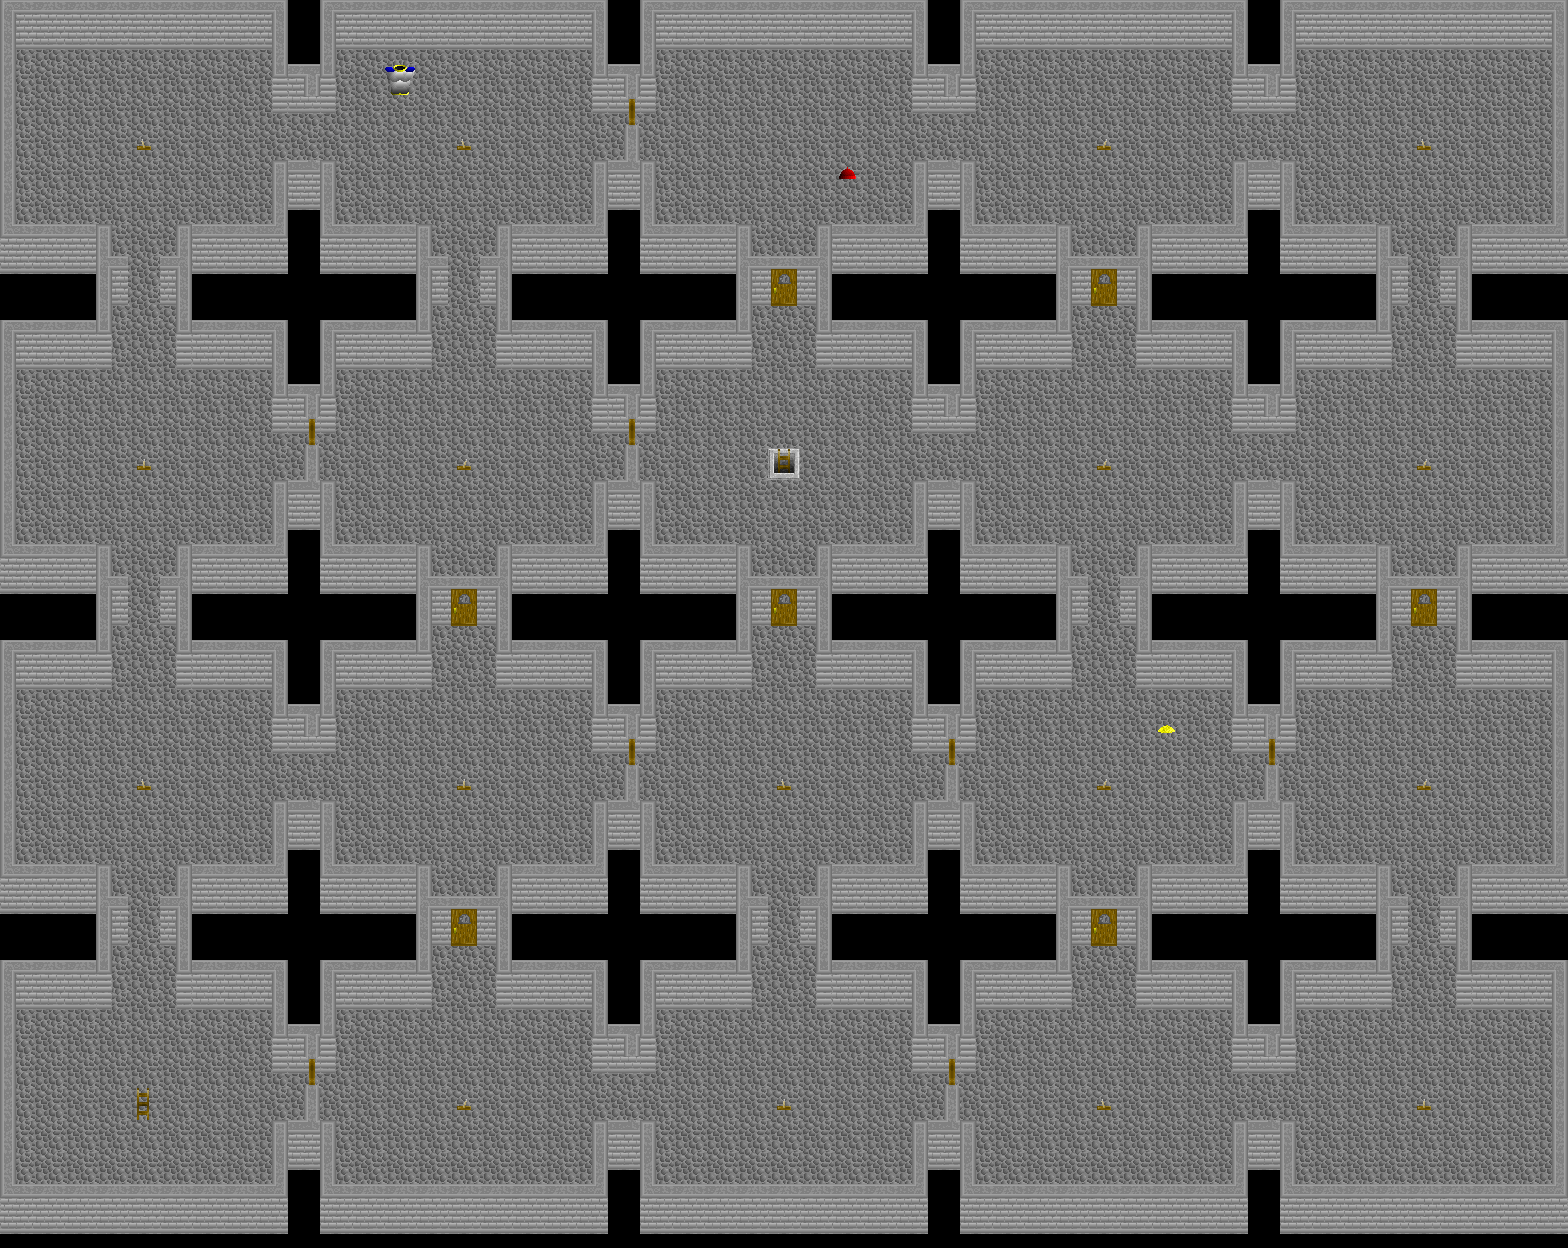
The third level is the monks’ test, a grid of twenty rooms joined by doors. A switch stands in the middle of almost every room, and each works two doors, opening whichever is shut and shutting whichever is open. The hole down to the crystal chamber is in the room just north of the middle. Doors that shut behind you leave you where you are, so the way there loops around the grid, and four switches, A to D, are all you need. Along the way are Valorious Armor (1), 120 gold (2), and a Cap of Burden (3).
The Way Through
From the ladder in the south-west corner, go north, then east into the next room, and pull switch A. The door you came through shuts behind you, and the one on the far side opens. Go east and south into the middle room of the bottom row, and pull B. Head east along the bottom row, then north into the room on the east edge, and pull C. Now go back south and west one room, then north through the newly opened door, north again, and east to the room on the east edge. Go north into the north-east corner and pull D. Walk west along the top row to the middle room, and go south through the door that has just opened. The hole is in that room.
Optional: The Treasure
All three treasures can be had without pulling any other switches. Before the first switch, walk up the west side to the top row and east into the next room for the Valorious Armor (1). The 120 gold (2) is in the room you pass through right after switch C, and the Cap of Burden (3) is in the top-middle room, on the way to the hole.
 ↑
↓
1
2
3
A
B
C
D
 ↑
↓
1
2
3
A
B
C
D
↑ To Trocken Dungeon (Second Level)↓ To Trocken Dungeon (Crystal Chamber)# TreasureA Switch A (first)B Switch B (second)C Switch C (third)D Switch D (last)
Nina
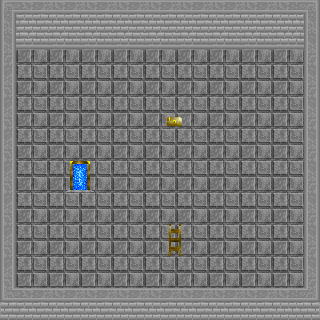
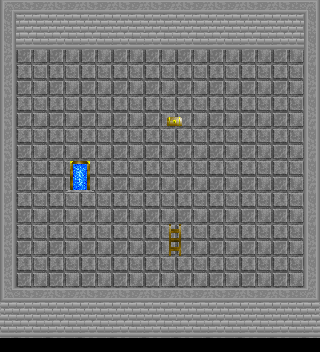
In the crystal chamber the chest is already empty. Nina has the crystal. She warns you off, and fights if you challenge her, then escapes in a flash of smoke. The portal beside the chest takes you back to the dungeon’s entrance. Head back to the hideout. Continue with The Life Caverns.
The party's journal
We've decided on the Trocken Dungeon. Daisalan has sent her people to the Sky Mountain Shrine. We wish them luck.